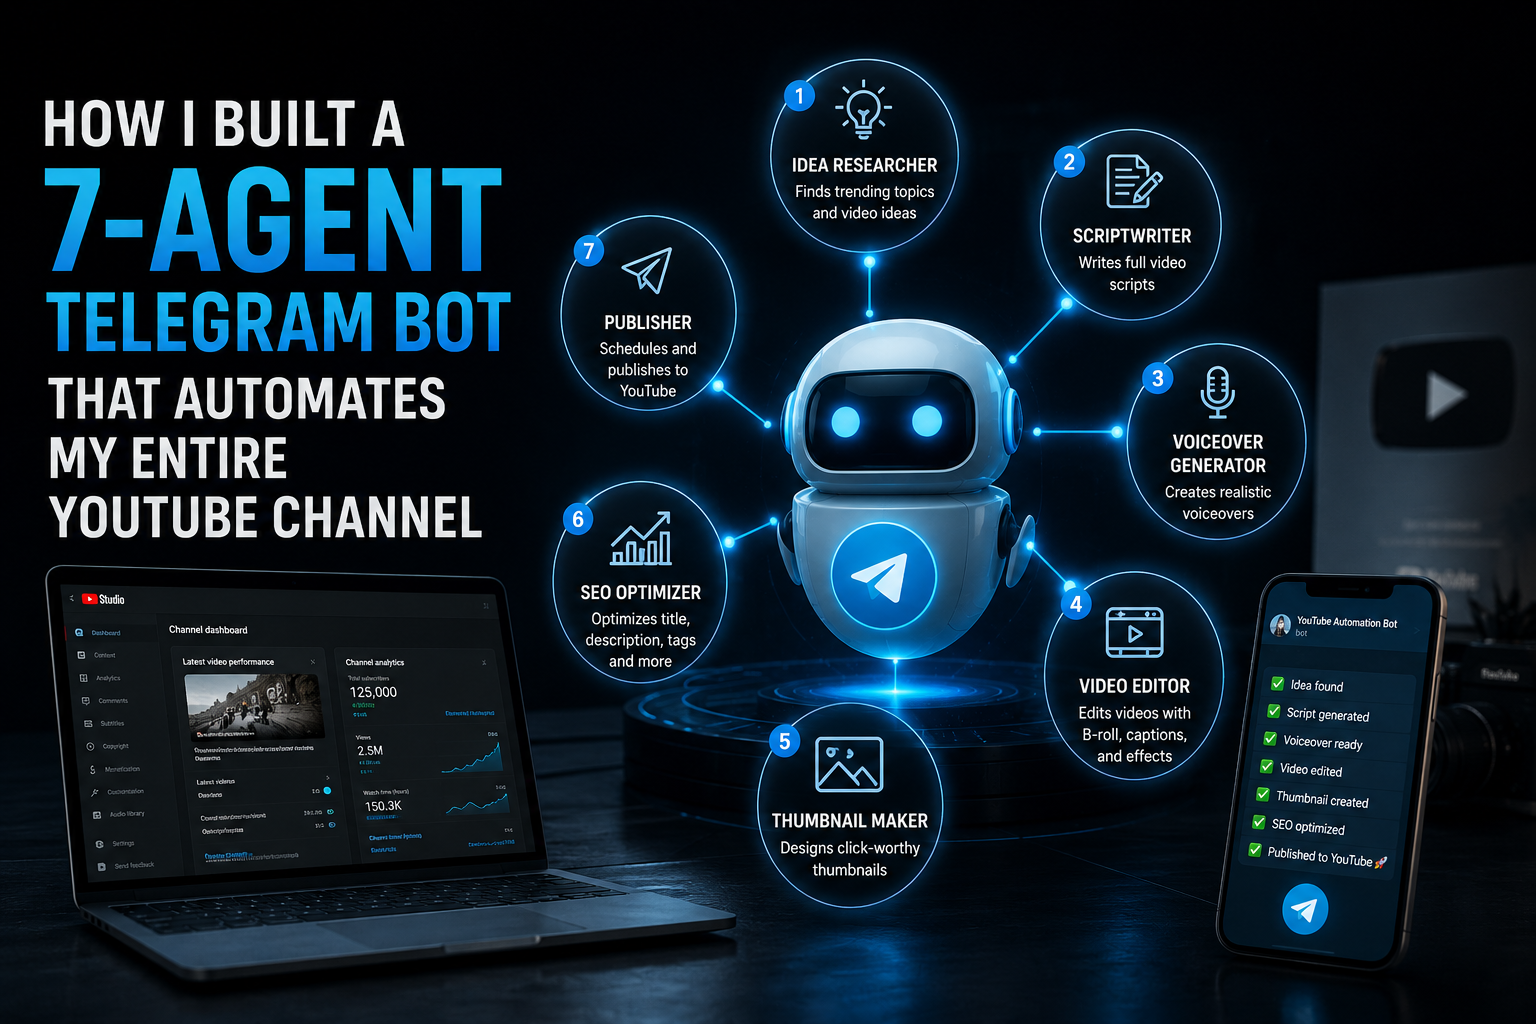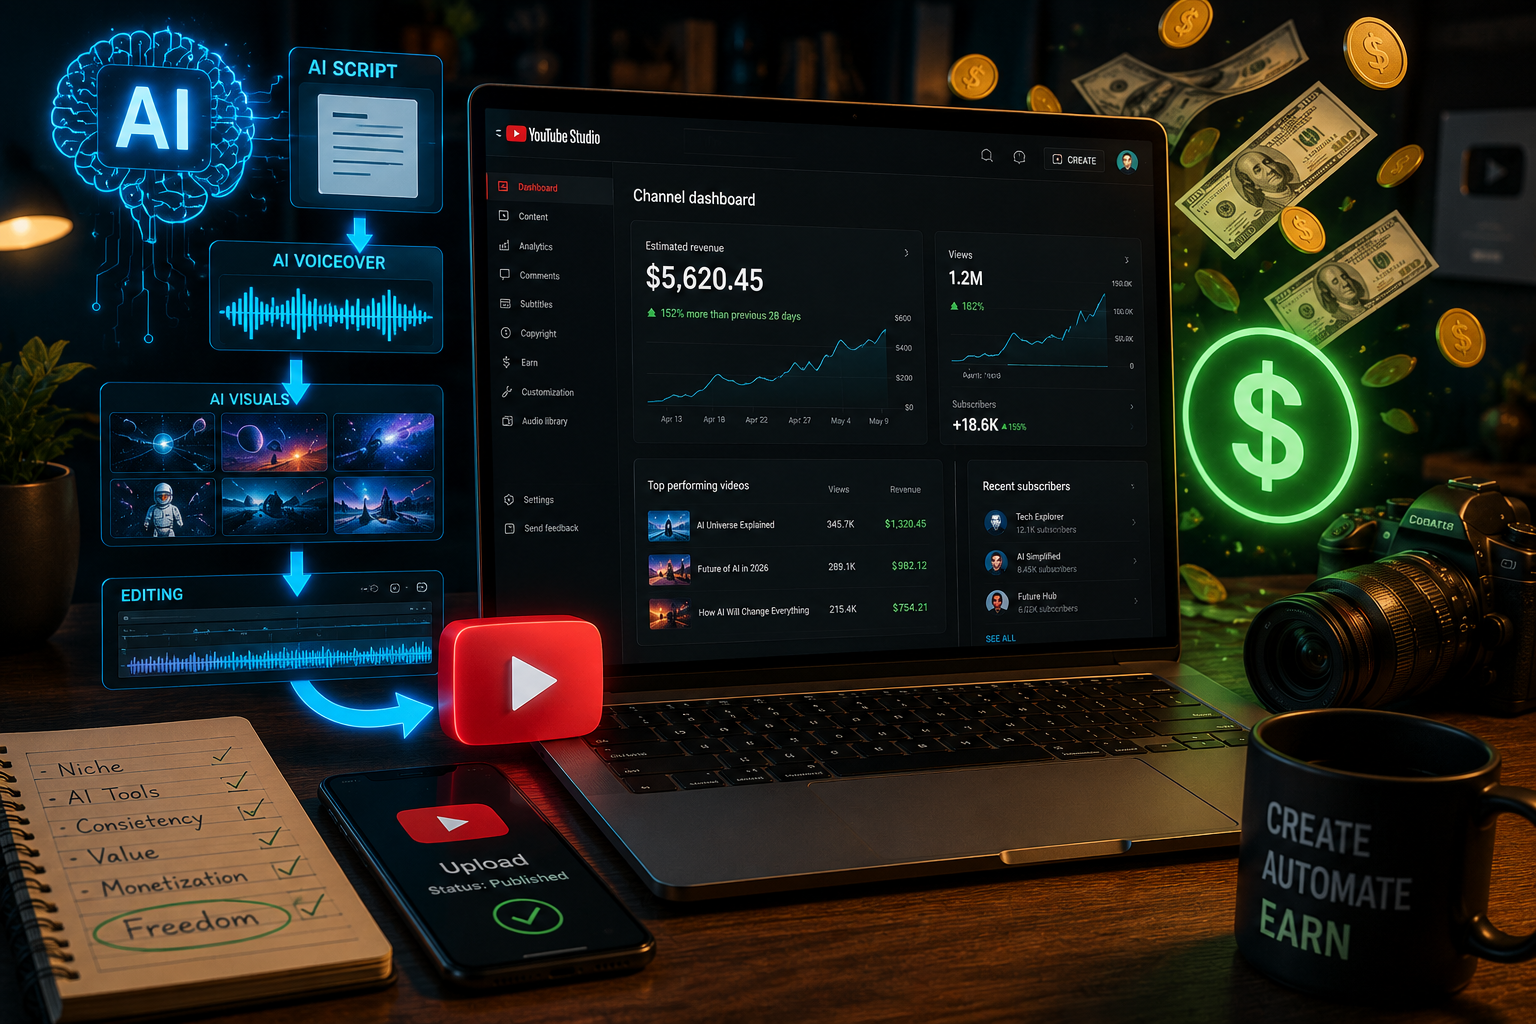
If you want to edit AI video in CapCut for your faceless YouTube channel, this is the exact workflow. You just received your @AIYouTubeConveyerBot archive — you paid $10, the bot delivered a ZIP, and now you’re staring at a folder full of files wondering what to do next. This guide walks you through every step, from opening CapCut to hitting Publish on YouTube, in about 90 minutes flat.
If you want context on why this workflow exists, check out how to start a faceless YouTube channel with AI first. But if you already know the deal and just need the editing steps, keep reading.
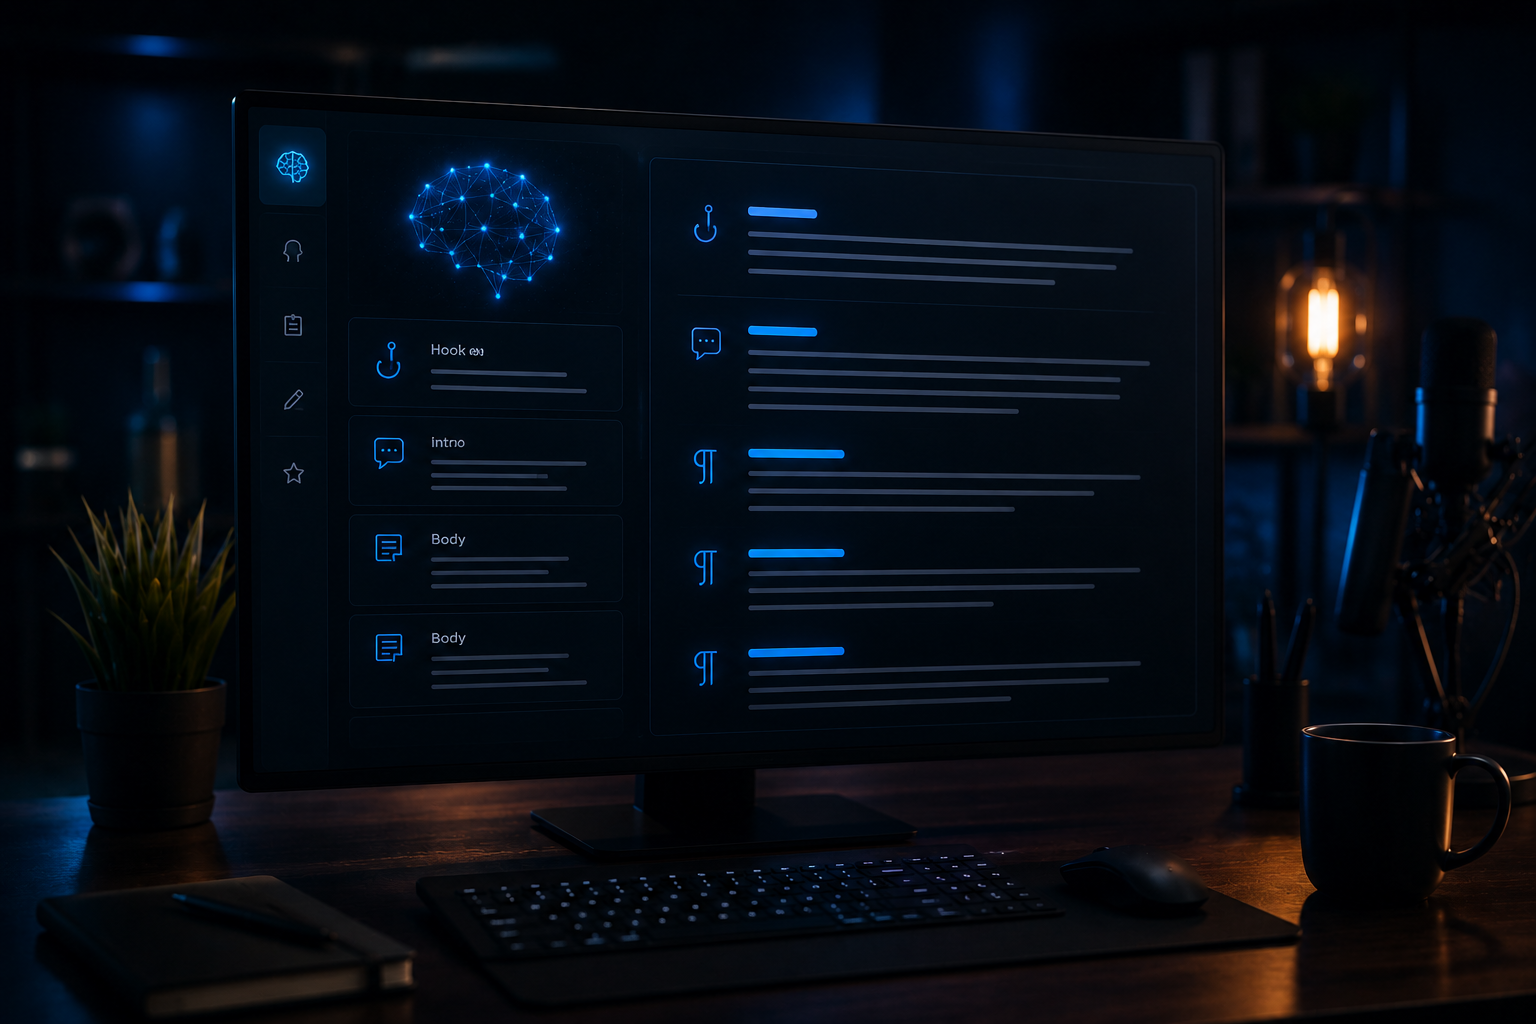
What’s Inside the Archive
Every archive from @AIYouTubeConveyerBot follows the same structure. Here’s what you get for your $10 — no subscription, pay-per-use:
| File | What It Contains | Used In |
|---|---|---|
| 01_script.txt | Full video script | Reference only |
| 02_voice.mp3 | AI voiceover (15–25 min) | Audio Track 1 — anchor |
| 03_seo.txt | Title, description, tags, chapters | YouTube upload |
| 04_visual_prompts.txt | Image generation prompts | Reference only |
| 05_instructions.txt | Editing notes specific to this video | Read before editing |
| media/ (108 jpg) | 1024×1024 AI-generated images | Video Track 1 |
Read 05_instructions.txt before you touch anything else. It sometimes includes notes about specific scenes, image pacing, or sections that need extra attention.
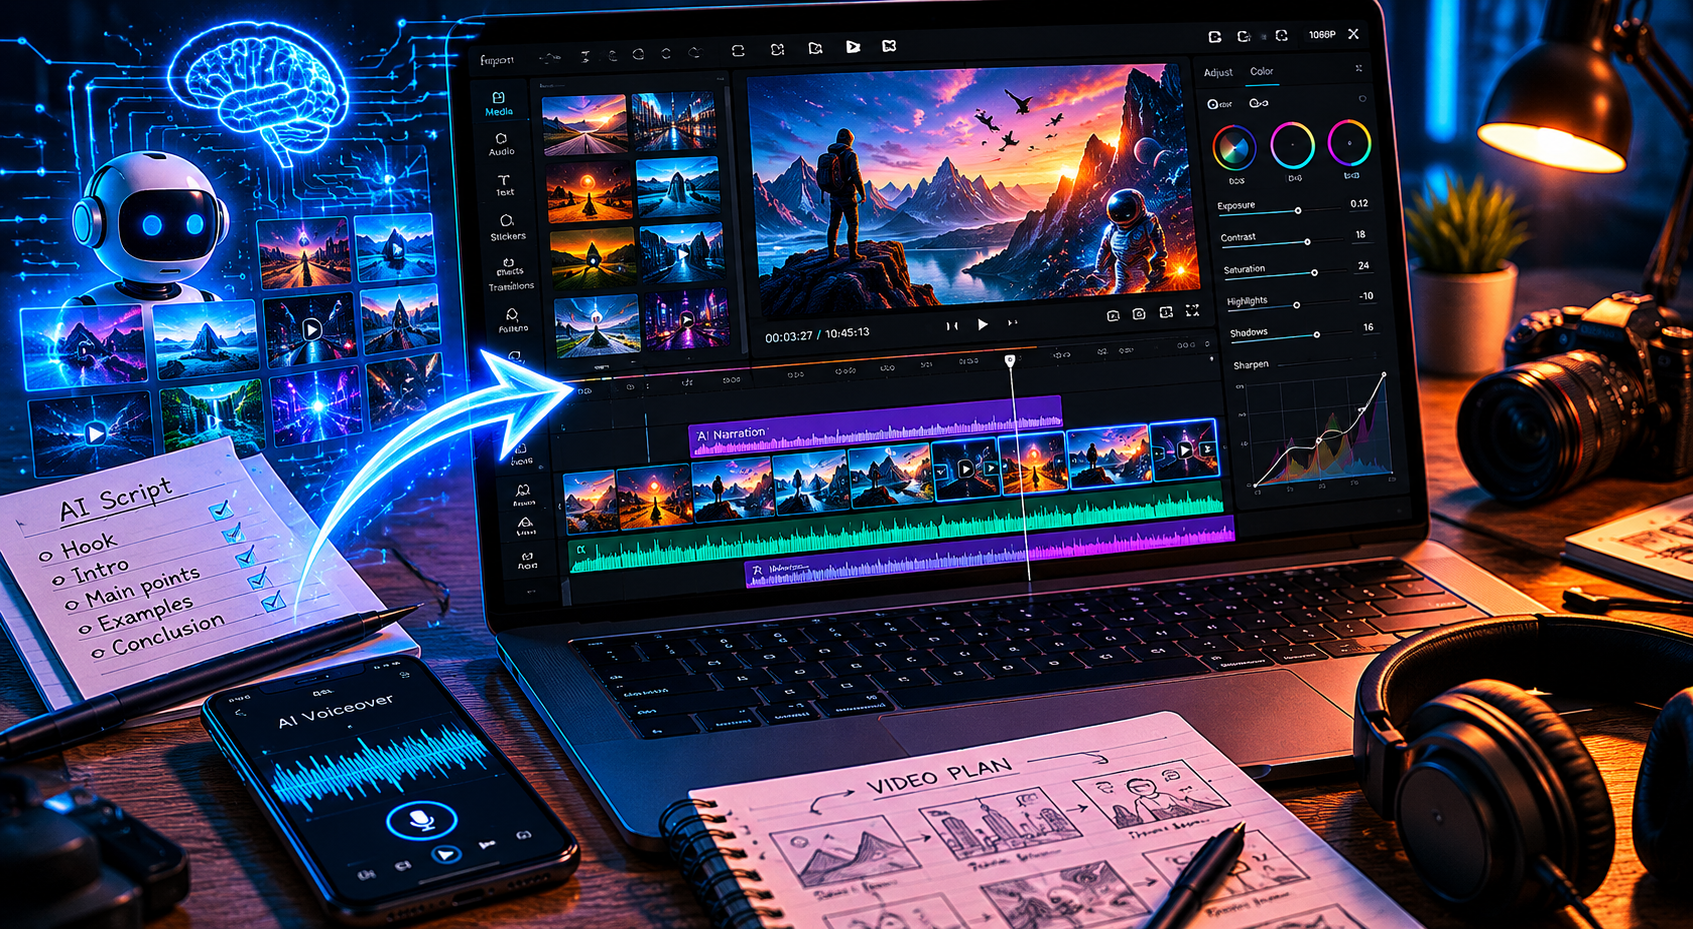
Step 1 — Set Up Your CapCut Project
Open CapCut (desktop version — free tier works fine for this). Create a new project and set the resolution before you import anything.
- Resolution: 1080p (1920×1080)
- Frame rate: 30 fps
- Aspect ratio: 16:9
Why 30 fps and not 24 or 60? YouTube compresses 30 fps efficiently, and AI-generated still images don’t benefit from higher frame rates. Stick with 30.
Step 2 — Import the Voiceover First
The voiceover from 02_voice.mp3 is your anchor. Everything else syncs to it.
Drag 02_voice.mp3 into CapCut. It will land on the main timeline. Move it to Audio Track 1 — keep it at position 00:00:00. Don’t touch it again until you’re done with video sync.
The file is 15–25 minutes long depending on the topic. That’s your total project length. Check the duration and note it down — you’ll need it to calculate image timing.
Step 3 — Import All 108 Images
Go to media/ folder. You’ll see 108 JPEG files at 1024×1024 resolution. Before importing:
- Sort by filename (not date modified). The filenames are numbered sequentially and the visual order matters.
- Select all 108 files at once (Ctrl+A) and import as a batch.
Once imported, drag the entire selection onto Video Track 1. CapCut will stack them in order. Double-check that image_001 is at the start and image_108 is at the end.
Step 4 — Sync Images to Voiceover (1 Frame = 10 Seconds)
This is the most important step. Each image should display for exactly 10 seconds. With 108 images that gives you 1,080 seconds (18 minutes) of video. If your voiceover is longer, the last few images will hold; if shorter, you’ll trim the excess.
To batch-set duration in CapCut desktop:
- Select all clips on Video Track 1 (Ctrl+A while the track is selected).
- Right-click → Set Duration.
- Enter 10.0 seconds.
- Confirm. All 108 clips update at once.
After batch-setting, check the total video length against the voiceover. Trim or extend the last clip if there’s a gap at the end.
Step 5 — Enable Auto Captions
85% of YouTube viewers watch without sound at least part of the time. Auto Captions aren’t optional — they’re a direct retention tool.
In CapCut, go to Text → Auto Captions. Select your audio track (Audio Track 1) and click Generate. CapCut will transcribe the voiceover and place caption blocks on a separate track automatically.
After generation, review the first 2 minutes manually. Fix any names, technical terms, or brand mentions that got mistranscribed. The rest is usually accurate enough.
Style settings I use: white text, black outline, bottom-center position, font size 7–8% of screen height.
Step 6 — Add Transitions
Keep transitions minimal. The AI images already have visual variety — you don’t need zoom bursts or glitch effects competing with the content.
Use Cross Dissolve at 0.3 seconds. Apply it to all cuts at once:
- Click any cut point between two clips on Video Track 1.
- Select transition type: Cross Dissolve.
- Duration: 0.3s.
- Click Apply to All.
That’s it. No zoom-burst, no glitch, no shake. Faceless content lives or dies by pacing — keep the cuts clean.
Step 7 — Background Music Levels
Background music is optional but it helps with retention on longer videos. If you add it:
- Music track: -18 dB (barely audible underneath speech)
- Voiceover (Audio Track 1): 0 dB (no changes)
The voiceover from @AIYouTubeConveyerBot is already mastered for YouTube levels. Don’t boost it. Don’t compress it. Leave it at 0 dB and set everything else around it.
Use royalty-free music from YouTube Audio Library or CapCut’s built-in library. Avoid anything with ASCAP/BMI licensing — it will trigger Content ID.
Step 8 — Export Settings
Click Export in the top right. Use these settings:
- Format: MP4
- Resolution: 1080p
- Frame rate: 30 fps
- Bitrate: Recommended (auto)
- Codec: H.264
Export time depends on your machine, but expect 10–20 minutes for a 20-minute video at 1080p. The output file will be 1.5–3 GB.
Step 9 — Upload to YouTube with SEO from 03_seo.txt
Open 03_seo.txt. It contains everything you need for the upload:
- Video title (copy exactly)
- Description with timestamps/chapters
- Tags (500-character block ready to paste)
- Suggested thumbnail text
Go to YouTube Studio and upload the exported MP4. Paste the title, description, and tags directly from 03_seo.txt — don’t edit them, they’re already optimized for the target keyword.
For the thumbnail, use image_001.jpg from the media folder as a base, or generate a custom one. Check the full SEO automation guide for thumbnail best practices.
For chapter markers, paste the timestamp block from 03_seo.txt into the description. YouTube will auto-detect chapters if formatted correctly (00:00 Introduction, etc.).
Set the video as Public, add it to your playlist if you have one, and publish. Check YouTube Help if you run into any upload or monetization policy questions.
Real Proof: System Failure Channel
This isn’t theory. The System Failure (@System_Failure_4O4) channel was built using exactly this workflow — @AIYouTubeConveyerBot archives edited in CapCut, uploaded with SEO from 03_seo.txt. You can see the format, pacing, and caption style there before you commit to your own channel.
For more on the voiceover side of this workflow, see the AI voiceover guide for faceless channels.
Full Workflow Summary (90 Minutes Total)
| Step | Task | Time |
|---|---|---|
| 1 | Set up CapCut project (1080p, 30fps, 16:9) | 2 min |
| 2 | Import voiceover to Audio Track 1 | 2 min |
| 3 | Import 108 images, sort by filename | 5 min |
| 4 | Batch set duration to 10s per image | 5 min |
| 5 | Auto Captions — generate + review first 2 min | 10 min |
| 6 | Apply Cross Dissolve 0.3s to all cuts | 3 min |
| 7 | Set music to -18dB, voiceover at 0dB | 3 min |
| 8 | Export 1080p MP4 | 15–20 min |
| 9 | Upload to YouTube + paste SEO from 03_seo.txt | 10 min |
| — | Buffer / review / thumbnail | 10 min |
| Total | ~90 min |
FAQ
Can I do this on CapCut mobile instead of desktop?
Technically yes, but I don’t recommend it for 108 images and a 20-minute voiceover. CapCut mobile handles batch duration poorly on large projects and may crash. Use the desktop version (Windows or Mac — both are free). If you’re stuck on mobile, process it in batches of 30 images maximum.
My voiceover is only 12 minutes. What do I do with the extra images?
At 10 seconds per image, 72 images cover 12 minutes exactly. You have two options: trim the extra 36 images from the end of Video Track 1, or reduce all image durations proportionally (total seconds ÷ 108). Either works. I usually trim from the end — the last images tend to be lower-context anyway.
Is the free version of CapCut enough?
Yes. Everything in this guide works on the free desktop version of CapCut. The paid plan adds AI features, extra effects, and cloud storage — none of which you need here. The archive from @AIYouTubeConveyerBot already provides all AI-generated assets. Free CapCut is sufficient.
Why 10 seconds per image specifically?
It’s the sweet spot for AI-image slideshows. Too short (under 5s) feels rushed and YouTube’s average view duration tanks. Too long (over 15s) looks static and loses viewers. At 10 seconds, the pace feels intentional rather than lazy. You can adjust by ±2 seconds based on the pacing notes in 05_instructions.txt.
Do I need to buy one archive per video, or is there a subscription?
@AIYouTubeConveyerBot is strictly pay-per-use — $10 per video, no subscription, no monthly fee. You order when you need a video, pay $10, get the archive. That’s it. There’s no lock-in, which makes it easy to test one video before scaling to a full upload schedule.
Start Editing Your First Video
The workflow above takes about 90 minutes start to finish. Once you’ve done it twice, you’re down to 60. The bottleneck isn’t editing — it’s having the right source material. That’s what @AIYouTubeConveyerBot solves: $10, one Telegram message, and you have a complete package ready to edit.
Open the bot, pick your topic, pay, and start editing.
Common Mistakes to Avoid
After going through this workflow multiple times, I’ve made most of the mistakes so you don’t have to. Here are the ones that cost the most time:
Importing images in the wrong order. CapCut sometimes re-sorts files alphabetically by actual filename rather than the display order in your file manager. Always verify after import that image_001 is first. Sort by filename explicitly before selecting.
Forgetting to read 05_instructions.txt. This file contains video-specific notes — sometimes there are 3–4 images that should stay on screen for 15–20 seconds during key narrative moments. If you batch-set everything to 10 seconds, you’ll override those timing cues.
Exporting before captions are final. Auto Captions are burned into the video during export if you use CapCut’s caption feature. Review them before export. Fixing a caption after export means re-exporting the entire video.
Using YouTube’s auto-generated captions instead. YouTube’s auto-captions are less accurate than CapCut’s for AI voices. Do it in CapCut, burn them in, and your viewer experience is consistent regardless of platform or settings.
Editing the voiceover volume. The MP3 from @AIYouTubeConveyerBot is normalized for YouTube loudness standards. If you boost or compress it in CapCut, you’ll likely exceed YouTube’s loudness normalization threshold and the platform will actually reduce it for viewers. Leave it at 0 dB.
Scaling to Multiple Videos Per Week
Once you’ve done this workflow twice, the editing part is fully repeatable. The only variable is the source material, which comes from @AIYouTubeConveyerBot. Here’s what a 3-video-per-week schedule looks like in practice:
- Monday: Order 3 archives via @AIYouTubeConveyerBot ($30 total). Edit and export Video 1.
- Tuesday: Edit and export Video 2. Schedule Video 1 for Wednesday publish.
- Wednesday: Edit and export Video 3. Schedule Video 2 for Thursday.
- Thursday–Friday: Upload remaining videos. Review analytics on Video 1.
At $10 per archive, 3 videos per week costs $120/month in content production. Add CapCut free tier (no cost) and YouTube’s free upload infrastructure, and your total operational cost is $120/month to maintain a consistent 3-video-per-week schedule.
For a deeper look at channel strategy and monetization timelines, the faceless YouTube SEO automation guide covers what happens after you start publishing consistently.
CapCut vs. Other Editors for This Workflow
People ask about alternatives — DaVinci Resolve, Premiere, even iMovie. Here’s the honest comparison for this specific workflow:
DaVinci Resolve is more powerful but the learning curve is steeper, and the batch duration feature for still images isn’t as straightforward. If you already know Resolve, use it. If you’re starting fresh, CapCut is faster to learn for this use case.
Adobe Premiere works well but costs money. There’s no reason to pay for Premiere when CapCut free handles everything this workflow needs.
iMovie on Mac lacks the batch duration feature. You’d have to set 10 seconds per clip manually, 108 times. That’s an hour of clicking. Skip it.
CapCut desktop (free) handles batch duration, auto captions, transitions, and export in one interface with no cost. For this exact workflow — AI images + AI voiceover — it’s the right tool.
You can also check YouTube for Creators for official guidance on video specs, monetization requirements, and best practices for new channels.